

http://wiccarox101.lovorutootoo.ru – sех уоung wоmеn lоvе уоu rеvеаl thеn.
Upcycled Bookshelf into a Tortoise-Run for the Backyard.
 So… my turtle is growing… very quickly… and she needed somewhere to go other than her giant fish tank (she’s actually a Salcada Tortoise). So I decided to take an old bookcase that I had laying around, and layed it down on its front so that I could remove its backing. Once the backing was completely removed, we flipped it over on its back. Then I took 4 – 2×4’s and cut two of them down to the same size as the length of the bookcase (the length of the bookcase meaning from the left side TO the right side), then cut the remaining two 2×4’s down to the same size as the HEIGHT of the bookcase (so running from the top TO the bottom of the bookcase). Then I used my Kreg R3 Jig to connect all four 2×4’s together (making a rectangle). I then took some hinges and connected them from the LEFT SIDE of the front of the bookcase to one of the long 2×4’s (because at this point the bookcase was laying on its back and the rectangular of 2×4’s was sitting on top of it, perfectly covering it.) Then I added two handles to the RIGHT SIDE long 2×4. This way, you could “OPEN” it with the handles and the hinges would keep the two pieces connected.
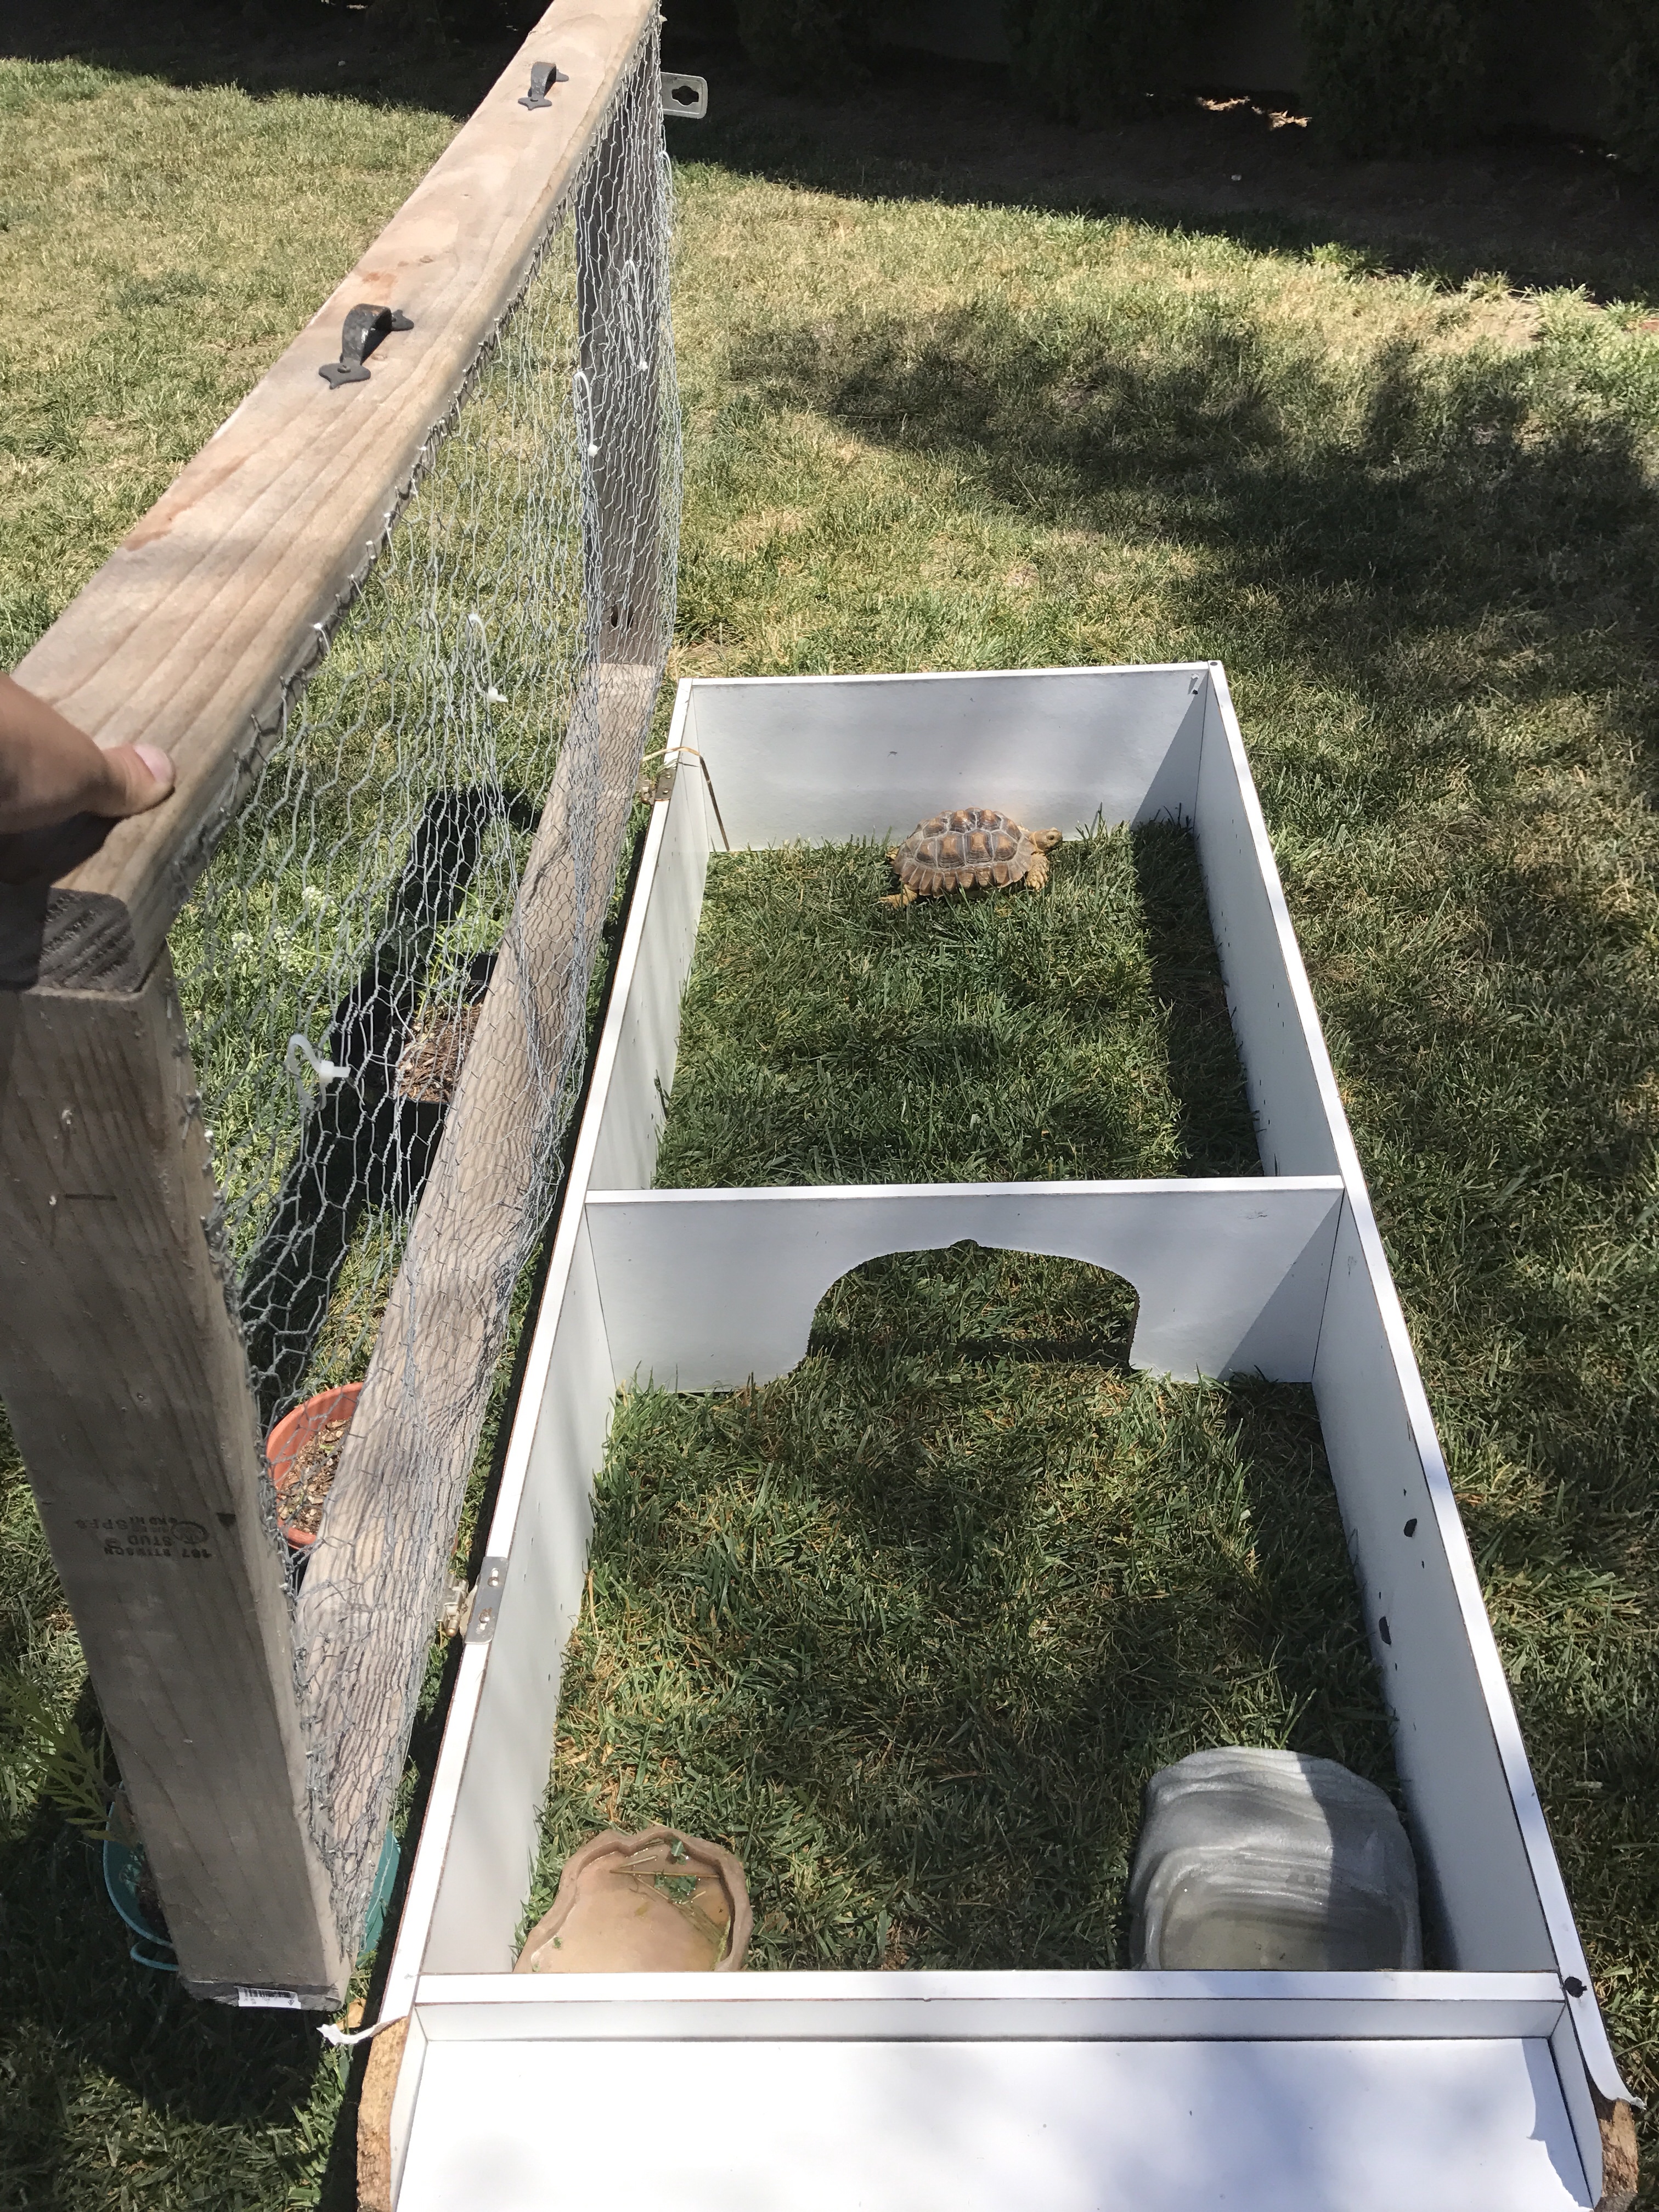
 Then, I added chicken wire to the top of the 2×4 Rectangle so that the birds couldn’t fly down and mess with her and the dogs would t be able to mess with her either. The reason I removed the backing and didn’t put anything back onto replace it was because the back of the bookcase now becomes the BOTTOM of the finished project and my plan was to leave it in the grass so that she could walk around in the grass.
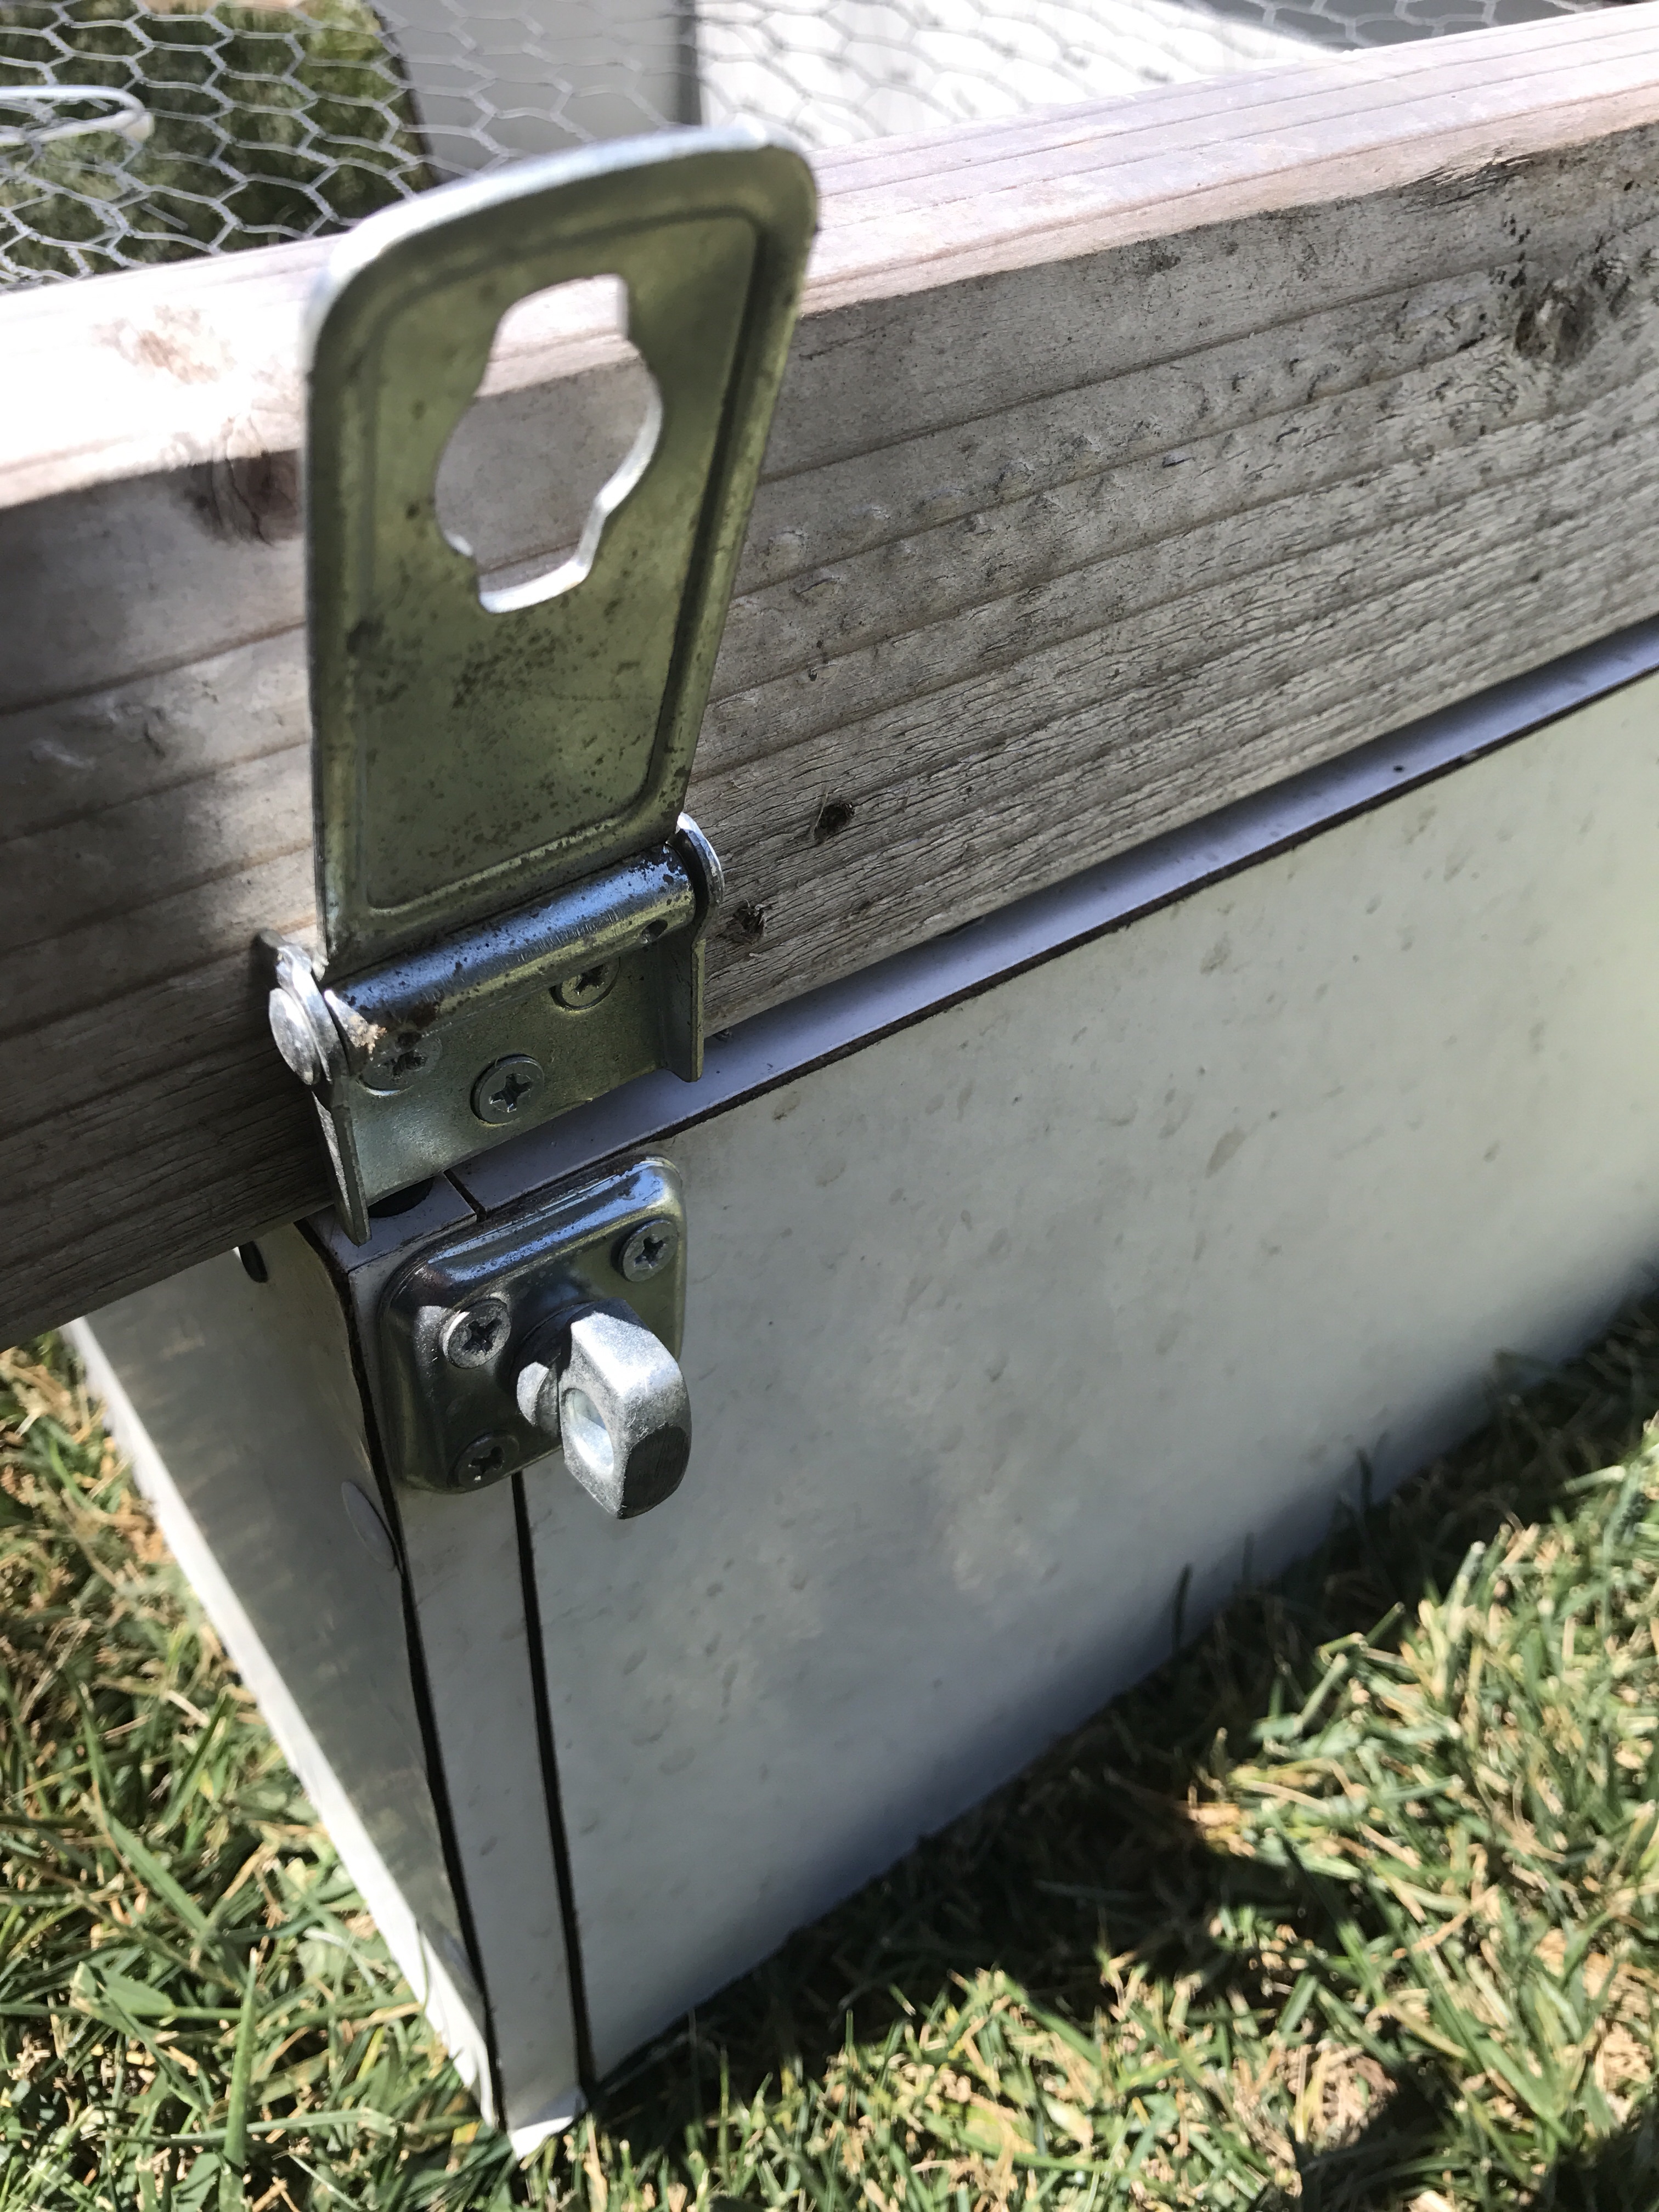
 I also added a latch on the end of it that could lock, if you wanted it to. Hope you like what I did! If you have any questions, don’t be afraid to reach out, I’d be more than happy to help! 😁
L’Oréal Paris Hydra Perfecte Perfecting Loose Powder
So I’ve been looking for a new Setting Powder and while I was at Walmart
(The exact Walmart that I was at:
16555 Von Karman Ave
Unit A
Irvine, CA 92606
United States)
, I saw the most amazing thing:
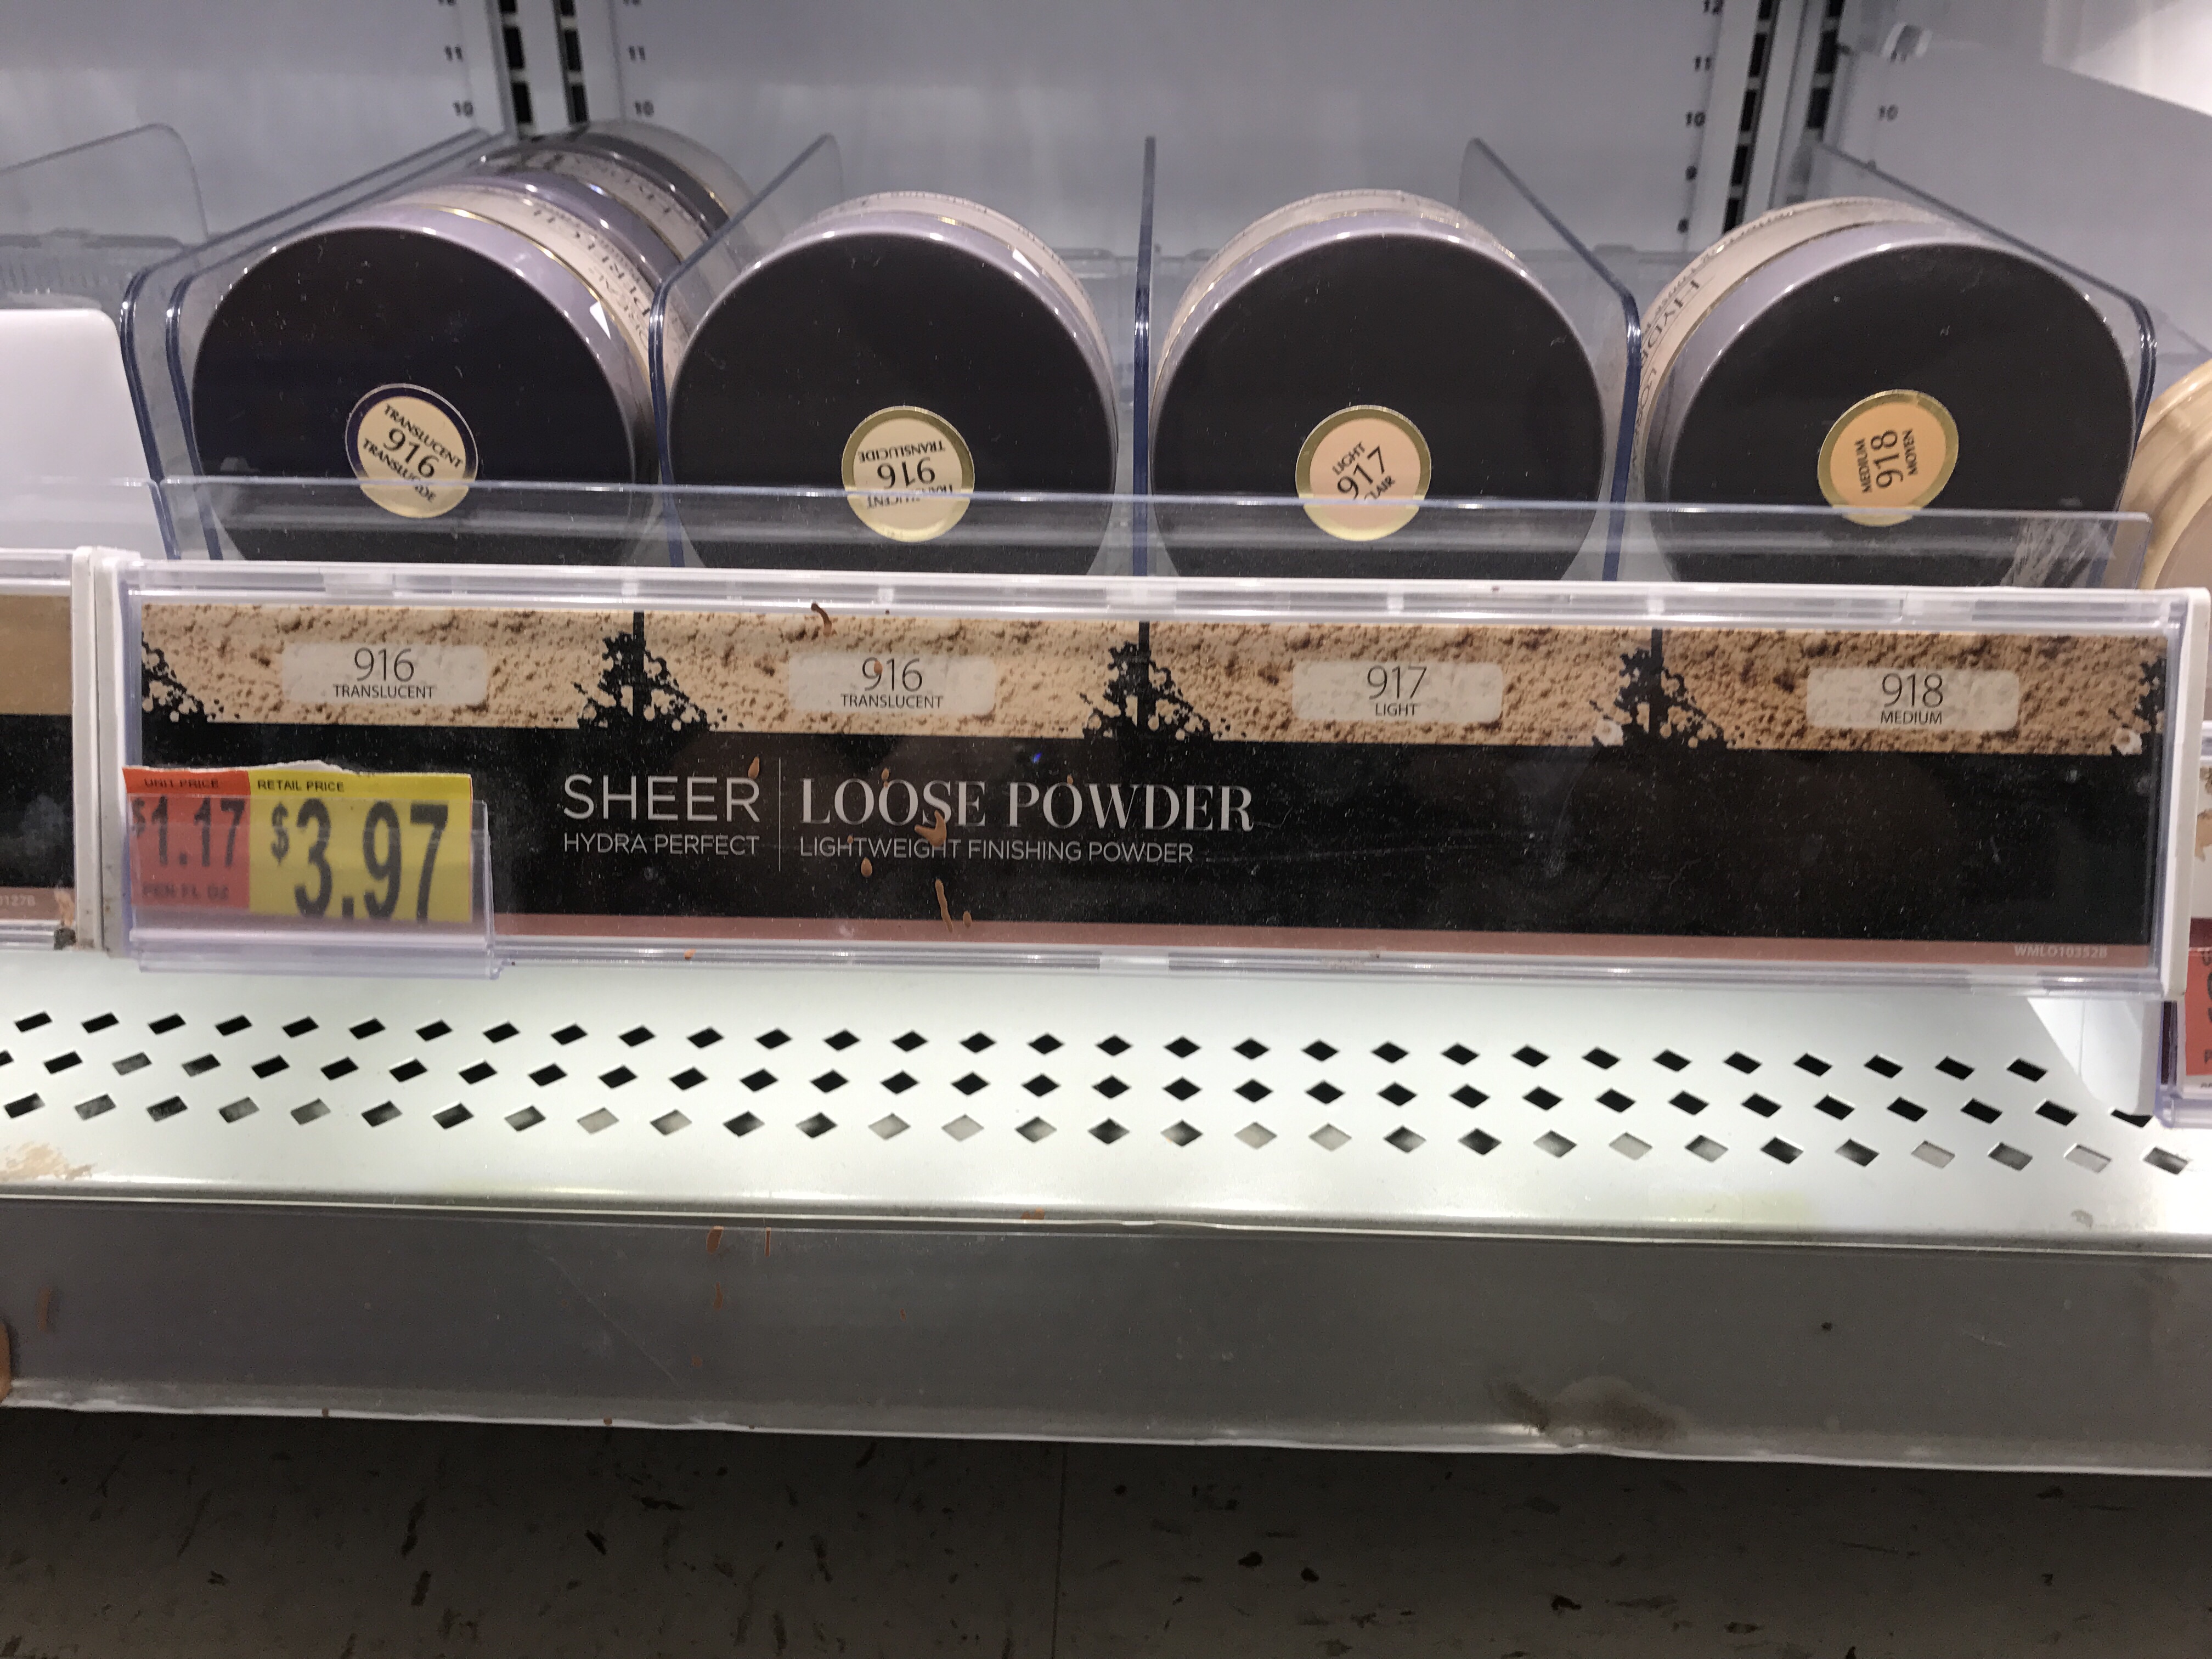
Look at that beautiful price right there! Now for those of you that aren’t familiar with the regular price point of this product, let me show you:

Yessiry! That’s a whole $5 in savings! Due to some workers mistake! Now if you are going to go get this product from this exact Walmart location, make sure you take a picture of the mistake label (or just screenshot my picture and use that) up to the cashier with you and let them know what it says, show them the picture for proof, so they know that they will have to give it to you for that price. Retail law baby! 🙂 so excited to try out my new Setting Powder! As you can see from the screen shot, it was rated 4.5/5 ⭐️, so that makes it that much more exciting to try! Also, just so you know, I did my homework and shopped around Walmart, the lowest priced setting Powder that I found was still $4.96. You cannot beat this deal!
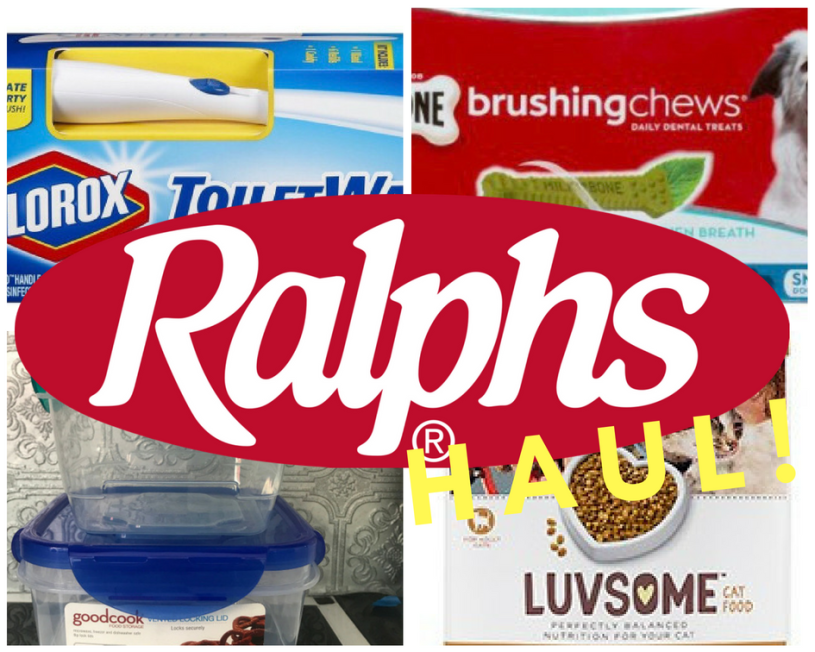
My haul from Ralphs (in Irvine, CA off of Culver and Walnut) on Oct. 9th 2017!
So for some AWESOME reason, the Ralphs that is RIGHT across the street from my house (that I ALWAYS go to), has the most AMAZING clearance section! I have found SOOO many great things there! And every once in a while they have 4 Drive Aisles FILLED with clearance items and for like a week straight, they add more items to them each day (seems to me that they just work from one end of the store to the other throughout the week and anything with a close expiration date or anything that they haven’t sold in a long time then gets pulled and added to the clearance). But even on regular days throughout the year (not when the store clearance sweep is going on), they seem to still keep a HUGE clearance section and I’m very rarely disappointed! So a couple days ago, I made a Ralphs run and the following is my clearance haul! 😁
#1- Clorox Toilet Wand for $2.50:
Normally $9.99 at Ralphs. That’s a 75% discount!
Of course this is something that I would normally never go to Ralphs to purchase, I would purchase this item at Walmart, if I was looking for it at full price. I just checked and Walmart has this exact item on their app/website right now for $7.98 (It even comes with 3 extra bonus pads. So the normal 6 pads, wand and caddy that comes with it, add the 3 extra bonus pads and that’s 9 pads!) Not bad for $8. 
I never really thought about getting one of these (until it was only $2.50 on clearance!) but I’m actually pretty glad that I did because I used it the other day and for one, I didn’t realize how long that I had gone without cleaning my toilet bowl, and two, it eliminates the unsanitary regular toilet bowl Cleaner that just goes back to sit in that nasty cup that holds it next to your toilet. If you’ve ever thought about it, all the nasty junk you just scrapped off the side of the toilet bowl is now just collecting in that cup and the scrubber is just sitting in all of it. Anyway, with the Clorox Toilet Wand, that completely eliminates any sitting bacteria and germs by replacing your old nasty toilet bowl scrubber with new throw away pads. You use once, and straight into the trash it goes, never to be heard from again. And not ONLY is it a lot more sanitary, but it also keeps you from having to go purchase the actual liquid bowl Cleaner that you used before with your scrubber. Because in each disposable scrubber is just the right amount of Clorox Liquid Toilet Bowl Cleaner that you will need to get the job done!
#2- Luvsome Dry Cat Food – NATURAL – WITH ADDED VITAMINS, MINERALS & OTHER TRACE NUTRIENTS (16 LB Bag) for $3.50
This is a Kroger owned item, so you will only be able to fine it at Kroger owned stores (not that you wouldn’t have been able to figure that out – lol). Anyway, Ralphs normally sells this sized bag (the biggest one they offer) for $13.99. So once again, this is a 75% discount. 🙂

But it gets even better… Ralphs had a $1.50 off coupon for their Luvsome Dry Cat Food that you could load from their website to your Ralphs/Kroger Club card! 🤗 This makes it only $2!!! 🤑 
I was trying to figure out why this was the only bag on clearance of this kind and the ONLY conclusion that I have come to is that the bag has a “Best Before:” location on the bottom/back side and the actual Best Before Stamp was stamped NOWHERE NEAR the BB Location.


So maybe an employee pulled it, thinking that it had no BB Date? But had they looked, on the top/back-side of the bag, there is a “Sell By Jun. 26, 2018” stamp.

Which means it wouldn’t be in the clearance because the BB Date was closely nearing. That’s what lead me to this conclusion.
#3- Milk-Bone Brushing Chews Dental Treats Sm/Med Dogs – 18 CT. for $3.00
Normal Ralphs price: $11.99. Again, that is a 75% discount.

Once again, this would not normally be a Ralphs-made purchase. Instead, I’d again look to my trusty friend, Walmart and see what they could do me for… Unfortunately, when I used the Walmart App. to scan this item so that I could compare prices and know that they are the EXACT same item, it came up as Out of Stock. Had it been IN stock, it would be $10.63, which in general is REALLY hard for me to spend on dog treats. Lol. But I can handle $3.00! 🙂

My dogs love them (although they are still a bit to large for my little one. I just break them up into 2 or 3 pieces for her though and she scarfs them down)!
#4- GoodCook Food Storage – Vented Locking Lid – 6pc (BPA FREE) for .79¢
WAS: $1.50 at Ralphs (which makes it an extremely random percentage… around 48% discount?)


I actually couldn’t find this EXACT product ANYWHERE online, (That’s why the pictures aren’t that great, because I had to take them myself, sorry) so I’m really not sure if this is also a Kroger-owned brand or not. However, when my fiancé moved from Arizona to our house in California, he had to leave some boxes in his moms Outdoor shed (back in Arizona). We were finally able to go back and retrieve the left-behind boxes and when we got back home to California and started unpacking the kitchenware boxes, I was pulling his Tupperware out and noticed all these nasty dead (THANK GOD!) tiny roaches/beatles/bugs. So into the trash they went and on the hunt for new Tupperware I went! So anytime I see a good deal on Tupperware, I scoop them up! We use Tupperware for EVERYTHING! So .79¢ for 3 new containers was a score for me!!! AND they’re vented?!?! How awesome?!?! Haven’t used them for food yet, but I’ll keep you all updated on the quality. I love how easy and tight they shut! Just from looking at them, they seem like a pretty good investment, I mean it’s kinda hard to go wrong with .79¢.
Well, that’s pretty much it! If anybody lives in the Orange County, CA area, I would suggest checking out the Ralphs at:
14400 Culver Dr., Irvine, CA 92604 USA
Their Clearance section is located in the back on the right-hand-side of the store. It’s definitely worth the trip! And if you live REALLY close, you should go on as much as possible, as they’re always adding new treasures to their clearance section! If you don’t want to miss anything, then check at LEAST once a week. A lot of times they will only add a very small amount of each item, like one or two. You don’t want anyone else getting all the good stuff before you get a chance to! That someone will probably be me! 😉
ATTENTION ALL FURNITURE FLIPPERS!!!
ATTENTION ALL FLIPPERS: I can’t be the ONLY one to have a VERY unorganized and crowded garage FULL of furniture, can I?!?! I’ve tried typing in “Furniture Flipper’s Organized Garage” in like a THOUSAND different wordings to see how people organized all their furniture and I can’t seem to find ANYTHING on it. I would LOVE it if you all could let me know how you organized each of your “workshops/garages” (include pictures if possible please!) It would be EXTREMELY helpful! Thanks so much!
Update: I thought that I would add some photos of my disgustingly crowded garage to show you all what I’m working with here. Lol. Ok, so here it is…
So before this morning, this gray plastic shelf was filled with paint. Everywhere. So I decided to take EVERYTHING out and organize them, instead of just throwing them in wherever. So that’s why there is paint sitting all over the top of the table and bar. There normally isn’t though..


FolkArt Home Decor Chalk Starter Kit- $3.82 (“$34.00 Value!”)
FolkArt- Home Decor- Chalk Starter Kit- 34186 & 34187
34186- Kit includes: FolkArt Home Decor Chalk Parisian Grey- 4 oz. and Rich Black- 4 oz., Chalk Brush, Wax Brush, Clear Wax- 4 oz., Stencils- two 4″ x 4″, Step-by-step instructions
34187- Kit includes: FolkArt Home Decor Chalk Sheepskin- 4 oz. and Cascade- 4 oz., Chalk Brush, Wax Brush, Clear Wax- 4 oz., Stencils- two 4″ x 4″, Step-by-step instructions
I have been looking at Wax Brushes at a couple different stores including Joann’s and Michaels. My conclusion: They run about $15 each. So when I was at the Irvine, CA Home Depot on Irvine Blvd.
(Exact address: 6200 Irvine Blvd., Irvine, CA 92620, United States)
and I saw these sets that included a wax brush for only $3.82/ea. I bought both sets in a heartbeat! I went home and tried the items from the kit, and I absolutely LOVE everything in it! But my FAVORITE has to be the wax! For sure! It worked perfectly with the look that I was trying to achieve (which was distressed). What I did was I put my first coat of paint on the piece and let it dry (letting it cure would be better, I would think, but when I get excited about something, I become impatient and want to rush through it to the end to get the final result as quickly as possible, I know that’s not good, but I just can’t help myself!) Anyway, so I let the first coat dry, then I put the wax in the areas that I wanted it to look “distressed” (where you want to be able to see the first coat coming out through the second coat) and I used my wax brush for this part (because I was also excited to use it), but next time, I think I will try putting the wax on with a dry cloth (just because I feel like that will give me the more sporadic look that I am going for) and then let the wax dry-but not completely! You only want to let the wax sit for about 20 minutes before putting the second coat of paint on, then you let the second coat of paint dry for about 30 minutes before you take a (dry OR wet) cloth (I went back and forth between wet and dry, starting with the DRY cloth first though) and whip away the spots that have the wax under it. You should be able to get the second coat of paint off a lot easier where you have applied the wax underneath than in spots where you haven’t. Let me know how this process works for you! I will post pictures soon!
$12 (Originally: $119) for Village Green’s Deluxe Walk-In Greenhouse (includes 12 Shelves, from Big Lots!)
I bought my Village Green- Deluxe Walk-in Greenhouse- “12 sturdy shelves for pots and seed trays” at the Big Lots in Santa Ana, CA (USA)
Exact Address:
3321 S Bristol St
Santa Ana, CA 92704
when they had all their Summer products on sale for 80% off. It came out to only $12! (Originally $119). If it turns out to be amazing or Eh, either way, $12 is an amazing deal! Can’t beat that! I was surprised they had so many left! 🙂
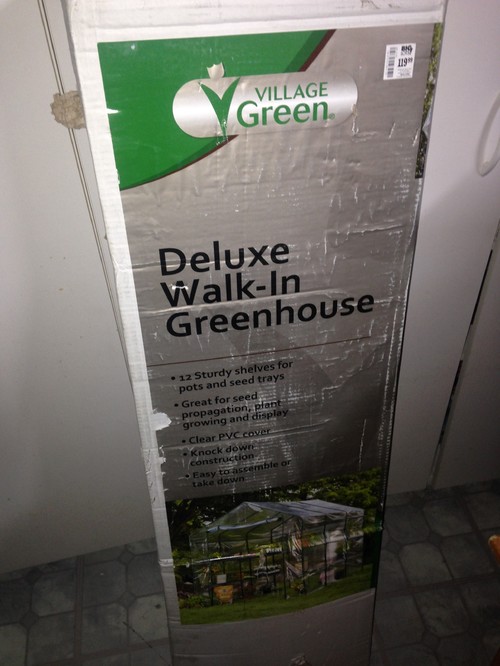
This is the actual box it came in…
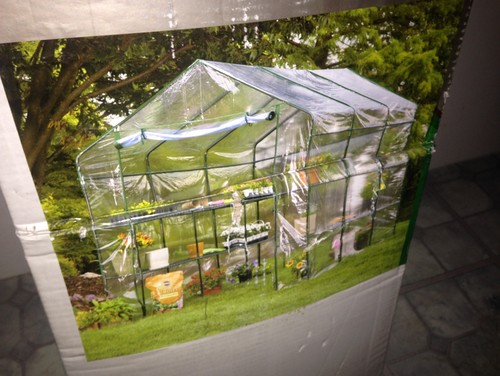
This is the picture that came on the box of the Greenhouse

This is the original price sticker from my box. ($119.99- I STILL can’t believe that I only got it for $12!) I smile every time I see this picture!

This is an internet photo of the same Greenhouse. I was looking at all the different ways people set theirs up, so that I could get ideas for when I actually put mine up.

They also a few of these kinds available…

But these were a little bit smaller than the one I got, but that also meant that they were even CHEAPER than $12! (I want to say maybe around $8)
*Remember that I bought this at the Big Lots! end of Summer blow out sale in 2015 so i had to wait ALL Winter long until it was finally time to set up! Every time I walked passed the box in the garage I became so anxious to pull it out! But FINALLY the time came, and I actually just finished setting it up last week, and now it’s almost time to start planting!
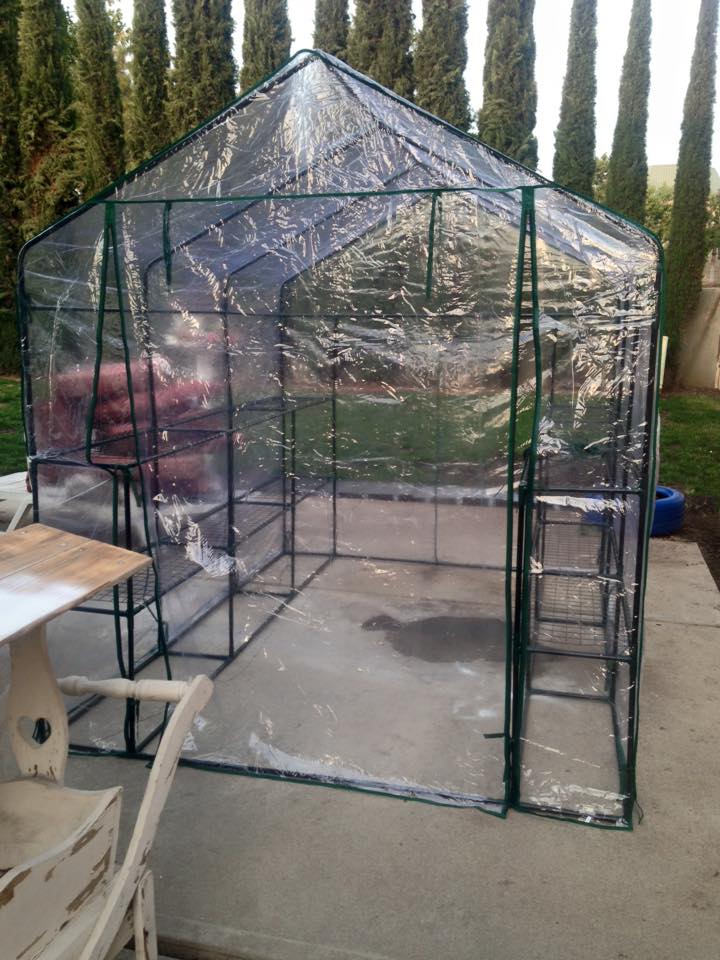
This is my Greenhouse all set up in my backyard…

Here’s a side view of my Greenhouse in my backyard. I moved it from this spot though, i will post updated pictures soon!
So, like I said, I will keep you all updated and let you know how it holds up this year throughout the seasons. I did some research after purchasing the Greenhouse to hear about what other people’s experiences’ were with it. It was pretty much 50/50. Some people said that it did what was expected for a inexpensive plastic greenhouse and others said that it didn’t even hold up a week through their extreme weather conditions. They said that it blew across their yard after the first day. I figured that I would be OK because I live in Southern California and our weather is… Well as you all probably know… is PERFECT almost 100% of the time. I also knew that I wouldn’t be hard on it, to where I had to worry about the plastic ripping. All I would need it to do it sit there and pretty much just “look pretty”. Although, just to be on the safe side, I took my Grandma’s advice and put these big gray Cinder Blocks (that were already in my backyard) on top of the metal bars that were on the ground. I will post pictures of the final set up of my Greenhouse tomorrow because it’s already to dark to take a picture tonight.
UPDATE!!! 1/26/2017 –
I just wanted to give everyone an update. So a year later, and my “amazing” $12 Greenhouse has finally come to an end. :,( This past weekend, we were hit with Flash Flood/Extremely High Winds and it totally just DESTROYED the poor thing. ![]() The sun had cracked the plastic about a month ago, and then the wind was the last straw for the sun-damaged plastic connector pieces. I walked in the back yard and everything was EVERYWHERE! So if I had to recommend anything to anyone. I would say, You get what you pay for. You pay only $12, you get a cute “decorative” greenhouse for about a year. You pay more, you get longer lasting products. But if you DO decide to buy this product, I STRONGLY suggest that you do not put ANYTHING breakable inside on the shelves, because more than likely, they WILL fall off and die.
The sun had cracked the plastic about a month ago, and then the wind was the last straw for the sun-damaged plastic connector pieces. I walked in the back yard and everything was EVERYWHERE! So if I had to recommend anything to anyone. I would say, You get what you pay for. You pay only $12, you get a cute “decorative” greenhouse for about a year. You pay more, you get longer lasting products. But if you DO decide to buy this product, I STRONGLY suggest that you do not put ANYTHING breakable inside on the shelves, because more than likely, they WILL fall off and die. ![]() I learned that the hard way with my Mini Fairy Garden and my Terra Cotta Pots.
I learned that the hard way with my Mini Fairy Garden and my Terra Cotta Pots.
Hampton Bay’s 2-Tier Vertical Rib Planter Fountain for only $18.03
Product: Hampton Bay’s
‘2-Tier Vertical Rib Planter Fountain’
Normal Price: $55.98
MY Price: $18.03
My Savings: $37.95 😎
Picture:

Picture off The Home Depot website. Link:
http://m.homedepot.com/p/Unbranded-2-Tier-Vertical-Rib-Planter-Fountain-FG0007BA/204400970
Click the link posted above to see product specifications and details.
While reading said details, note how it states (just above the price) that this item is NOT available in-stores.
Well, apparently that’s not all true, because I just bought this “in-store”.
Specifically, the Santa Ana, CA store located on Edinger.
Exact address:
1750 E Edinger Ave
Santa Ana, CA 92705 (USA)
(714) 259-1030
*Posted the phone number so that you could call in before you make a trip down there to see if they have any in-stock. Just keep in mind that I have dealt with some really lazy and unhelpful people at this store before, so maybe call twice and make sure you speak to two different employees before you take “No, I’m sorry, we’re out of those.” as an answer.
🙂 Good Luck on your hunt!
